I’d been interested in getting a Raspberry Pi for years, but short of just tinkering I never really had a use for it. That is until now when I finally had what could only be described as a first-world problem to solve.
Setting the scene
At home we have an outdoor entertaining area with in-ceiling speakers. These speakers are cabled back to an Onkyo AV Receiver in the lounge room that controls both this outdoor area as Zone 2 and the lounge room’s home theatre surround sound as Zone 1. We often sit out on the deck with music playing both inside and outside across both zones. There have been a few times already that we have turned the music source off when we are done, only to realise when we are watching a movie/tv show later that night that Zone 2 has still been left on and we are blaring the sound to the street…
Onkyo have both a basic iPhone app and a web interface that allow me to control my Receiver over my local wifi network so I figured there must be some sort of local communication exposed. I wanted to see if I could use something like a Raspberry Pi to help let us know when Zone 2 of the Onkyo Receiver was turned on.
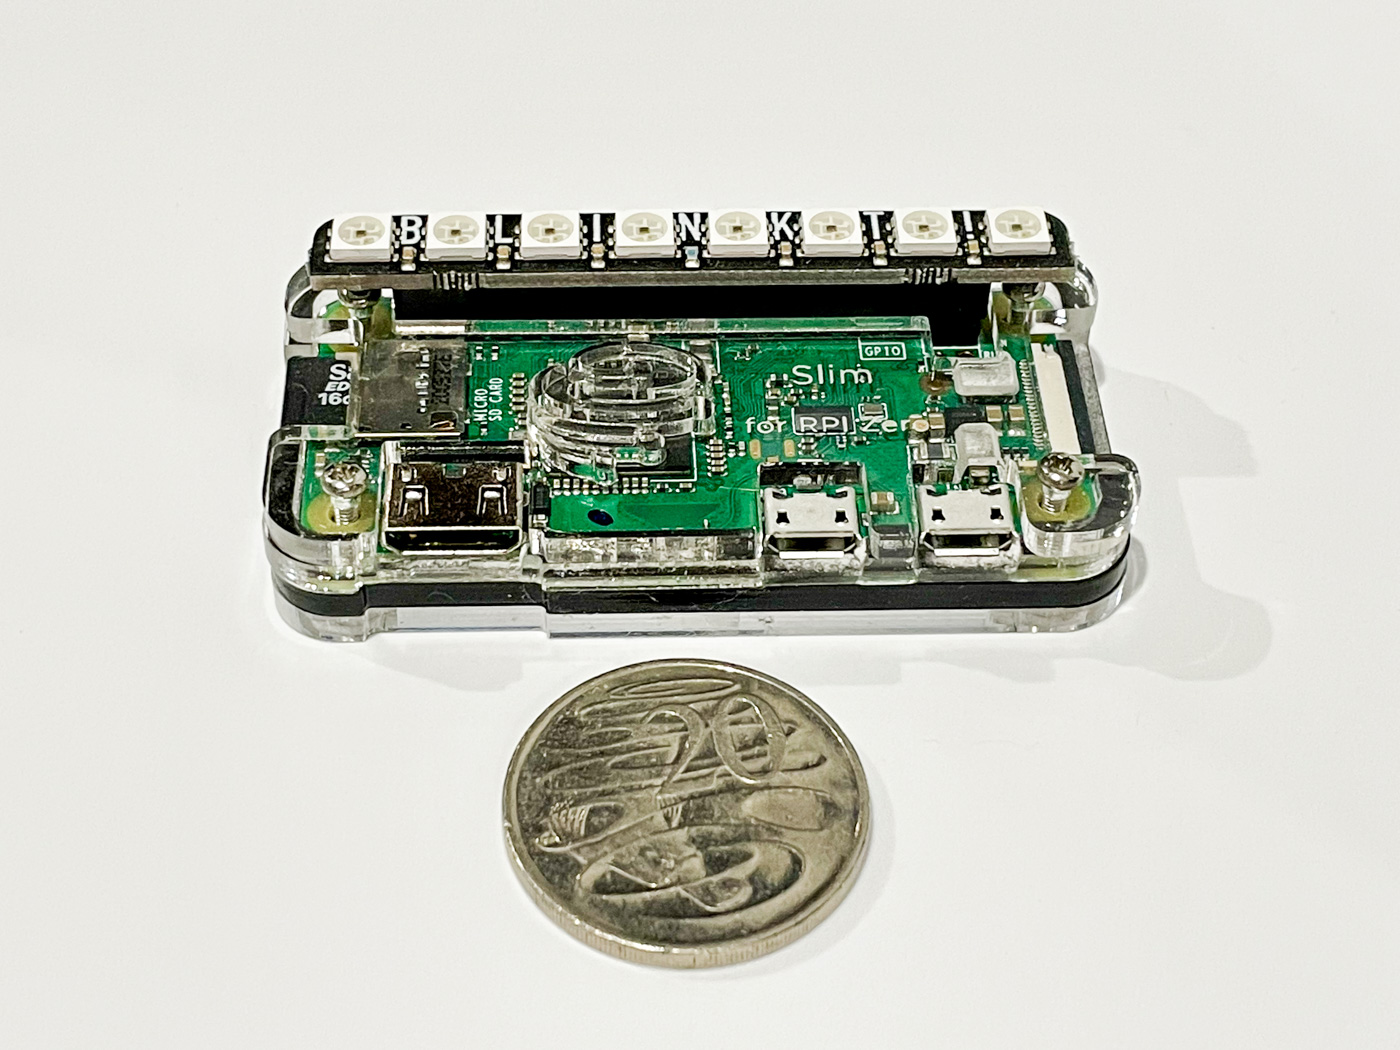
Raspberry Pi Zero size comparison
Research
With a bit of research, I found that Onkyo have a proprietary protocol for controlling their receivers, eISCP or Integra Serial Communication Protocol over Ethernet. My first approach was to intercept traffic from their iOS app to see if I could just observe the API calls I was interested in and then replicate them on the Raspberry Pi. I could see the outgoing traffic but the protocol is so low level that I could not make sense of it. I found basic documentation on eISCP but even then it was not detailed enough to help me any further and I put the project aside.
Fast forward a few months and it happened again, we accidentally left the outdoor speakers on and were blasting Narcos on Netflix to the street at 10pm!
This kickstarted the research again and I found that someone had written an opensource python wrapper for the Onkyo protocol! I hadn’t written Python before but I knew I could run it on a Raspberry Pi. I pulled down the python library and first got it running on my MacBook Pro. Sure enough, I could issue commands and my Onkyo Receiver was responding. I tried Power On, Power Off, Querying Power Status, Querying Zone Status and that was enough for me to realise it was possible and start shopping for parts.
The shopping list
I knew I wanted an LED light to flash and indicate status to us in an obvious way when Zone 2 was turned on but wasn’t sure what else I needed to make this work. I came across Core Electronics and they had tutorials, walkthrough videos and all sorts of resources to get a new person started. They also had all the parts I needed.
| Item | Price ($AUD) |
|---|---|
| Raspberry Pi Zero WH (Wireless with Soldered Headers) | $30.80 |
| Slim Case for Raspberry Pi Zero | $4.95 |
| Raspberry Pi 3+ Power Supply | $18.95 |
| 16GB MicroSD Card | $18.70 |
| Pimoroni Blinkt! | $12.50 |
| TOTAL | $85.90 |
I chose the Pi Zero WH because it is tiny and I can keep it out of sight in my entertainment cabinet, it’s cheap and its specs more than covered all of my needs. This newer Zero W model has built-in WiFi and I chose their pre-soldered header model as it meant I could get started on my project straight away (and I don’t have a soldering iron or the knowledge).
This model also has built-in mini-HDMI and 1x micro USB but I’d be running the Pi Zero hidden and headless so I had no need for adapters to support a monitor, keyboard or mouse.
The Pimoroni Blinkt! is the real star of the project, offering eight RGB LEDs on a board that fits straight onto the Raspberry Pi’s headers. Best of all Pimoroni provides a Python library and plenty of example code to easily interface with the LEDs.
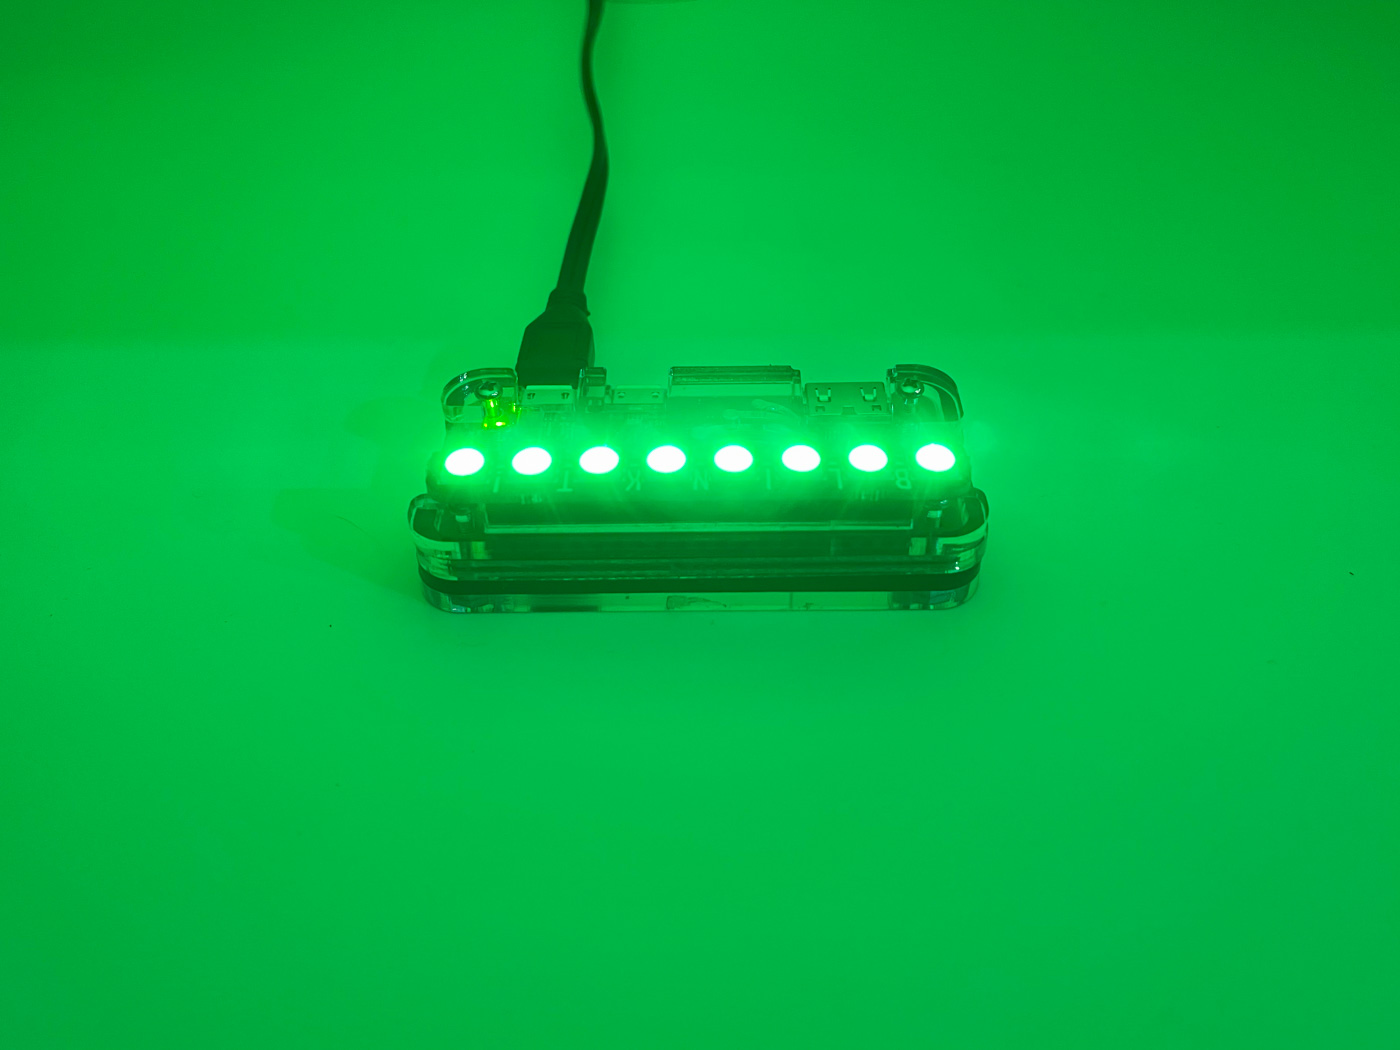
Pimoroni LEDs
Development
I chose to use Raspberry Pi OS Lite, a minimal operating system without a GUI, as it was going to be running headless and I’d be doing all communication over ssh. I’ll skip over getting the Raspberry Pi set up as there is plenty of information available on this elsewhere.
I had no experience with Python but as a software engineer I was keen to use this project as a learning exercise on something different and new, away from my day to day mobile development in Swift. As I’m a stickler for quality and best practices that first meant reading all about pip package manager and virtual environments.
venv allows you to manage separate package installations for different projects to avoid installing Python packages globally which could break system tools or interfere with other projects. Whilst the tools were different, this is something I’m very familiar with coming from iOS/CocoaPods/Podfile and Ruby/bundler/Gemfile based dev environments.
From my project dir I created a new virtual Python installation environment called env and activated it.
$ python3 -m venv env
$ source env/bin/activate
I then installed the packages I would be using:
$ pip install onkyo-eiscp
$ pip install blinkt
I then exported a list with my dependencies and their versions locked.
$ pip freeze > requirements.txt
This allows me to move the project to another location (like from my MacBook during development to the Raspberry Pi) and restore the environment, recreating the exact versions of all packages used.
$ pip install -r requirements.txt
I first played around with the blinkt package to see what it could do. With the help of their docs, I easily had the LED lights turning on, changing colours, brightness, and flashing.
After all this lead up work, writing the actual script was simple. I first connected to the Onkyo Receiver using the eiscp package and retrieved the power status of Zone 2. If Zone 2 was ON I wanted to flash the lights Red then Green repeatably five times to give me more chance of noticing them and then leave a constant Green light on. If Zone 2 was off, which is most of the time, I wanted the lights to be off.
The full script is below:
import eiscp
import time
import blinkt

receiver = eiscp.eISCP('192.168.1.50') # Reserved IP to receiver
result = receiver.command('zone2.power=query')
receiver.disconnect()
status = result[1]

blinkt.set_brightness(0.4)
blinkt.clear()
if status == 'on':
    i = 0
    num_flashes = 5
    while i < num_flashes:
        blinkt.set_all(255, 0, 0) # red
        blinkt.show()
        time.sleep(0.5)
        blinkt.set_all(0, 255, 0) # green
        blinkt.show()
        time.sleep(0.5)
        blinkt.set_clear_on_exit(False)
        i += 1
else:
    blinkt.clear()
    blinkt.show()
The blinkt.set_clear_on_exit(False) function keeps the final state of the LEDs on until next time the script runs. This allows me to keep the lights illuminated between script runs.
The blinkt.clear() and blinkt.show() in the else condition allows me to turn off the lights in the event Zone 2 has moved from ON to OFF since last script run.
Scheduled task
You may have noticed that this script will only run through once and finish. Rather than keep the script alive and polling the receiver, I scheduled it to automatically run on regular intervals using crontab. I picked two minutes which allows me to regularly check if the state of Zone 2 had changed without being too often. If Zone 2 is in use, the lights will flash and then stay on until the next check in two minutes which, if Zone 2 is still on, will start over and flash again.
Adding a new scheduled task to cron table is fairly simple once you understand its specific syntax.
$ crontab -e # edit cron table

*/2 * * * * /home/pi/.pyenv/shims/python3 /home/pi/bin/blinkt-proj-1/onkyo_zone2_status.py > /home/pi/logs/onkyo_zone2_status.log 2>&1
I added the output logging for debugging.
The script has now been running unassisted for over two months, and as the Raspberry Pi is hidden out of sight I even forgot about it until recently my entertainment cabinet was glowing green and I knew straight away we had left the outdoor speakers on!
Video
Part 2
As I mentioned earlier, Onkyo have an iOS app but it is ugly, difficult to use and has a low WAF (Wife Acceptance Factor). Now that my Raspberry Pi had an easy way of communicating with my receiver I wanted to go a step further and have it expose an API for a future iPhone app I would build. I’ll continue on this in Part 2 - Raspberry Pi Onkyo API.
For the full project see https://github.com/danielbowden/onkyo-notifier